One of the very first things I do after creating a new C++ project in Visual Studio is setting the Visual C++ compiler warning level 4. I consider this a best practice when writing C++ code compiled with the Microsoft Visual C++ compiler. In fact, I prefer having the VC++ compiler speak out more frequently, as it helps finding bugs (and fixing them) earlier in the development cycle.
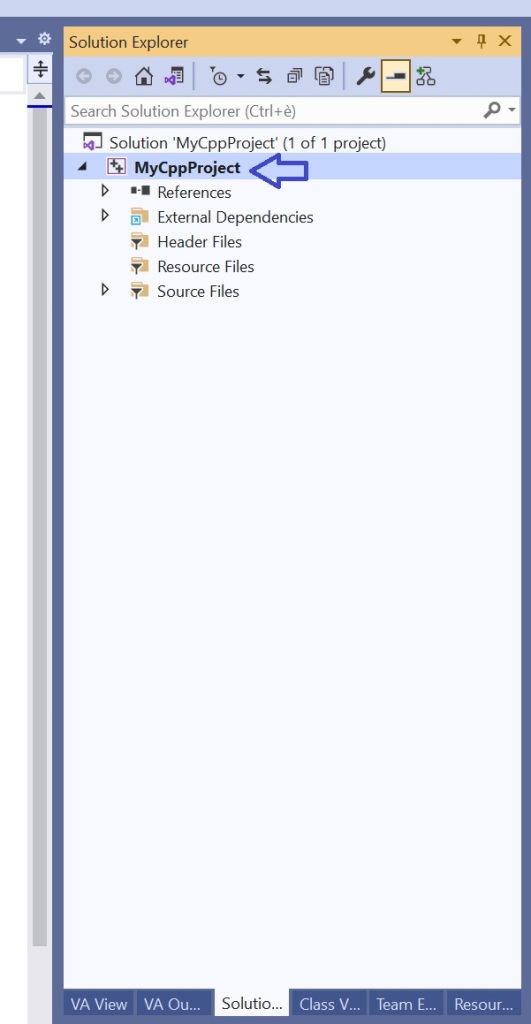
To do so, in the Solution Explorer view in Visual Studio, right click on your C++ project name, and select Properties from the menu.
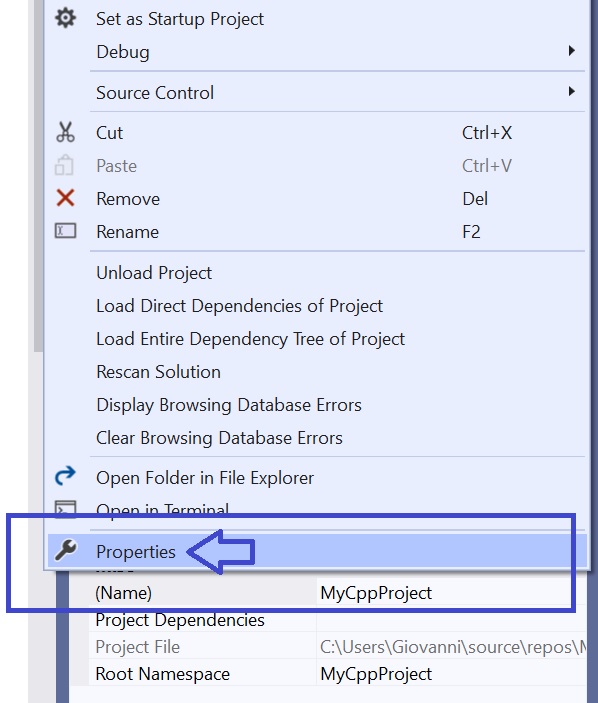
The dialog box showing the project’s properties will appear.
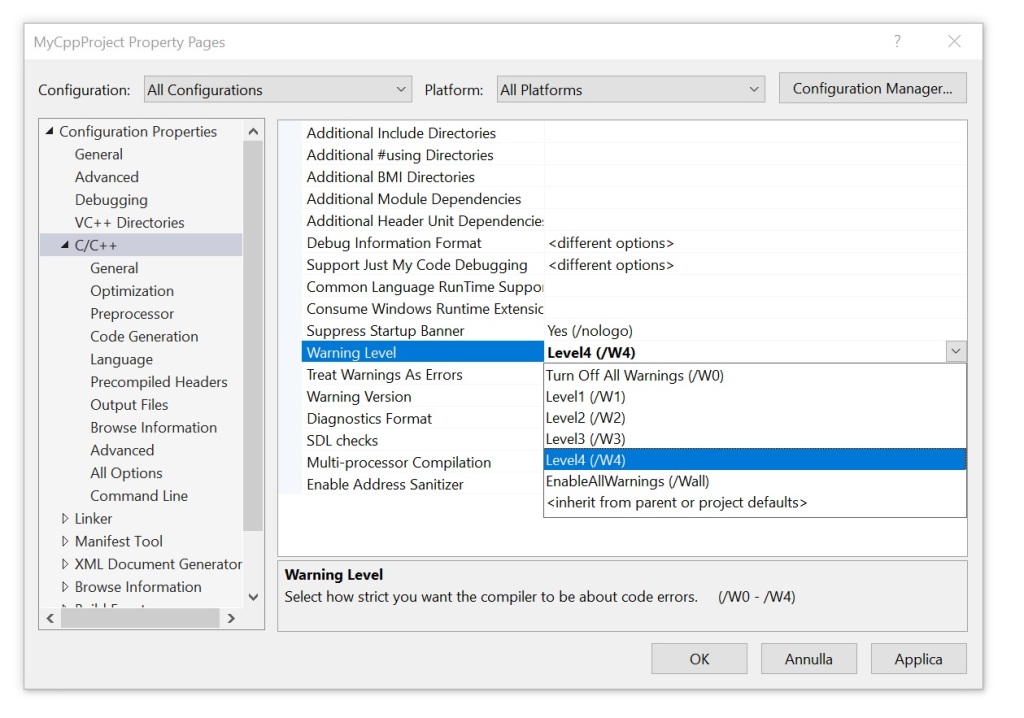
In Configuration Properties on the left, select C/C++. Then change the Warning Level property from the default Level3 (/W3) to Level4 (/w4). Confirm clicking the OK button.
Enjoy your C++ project development!
I wish the warning level 4 was the default setting in Visual Studio for C++ projects! For me, this would adhere to the philosophy of having good defaults.
